



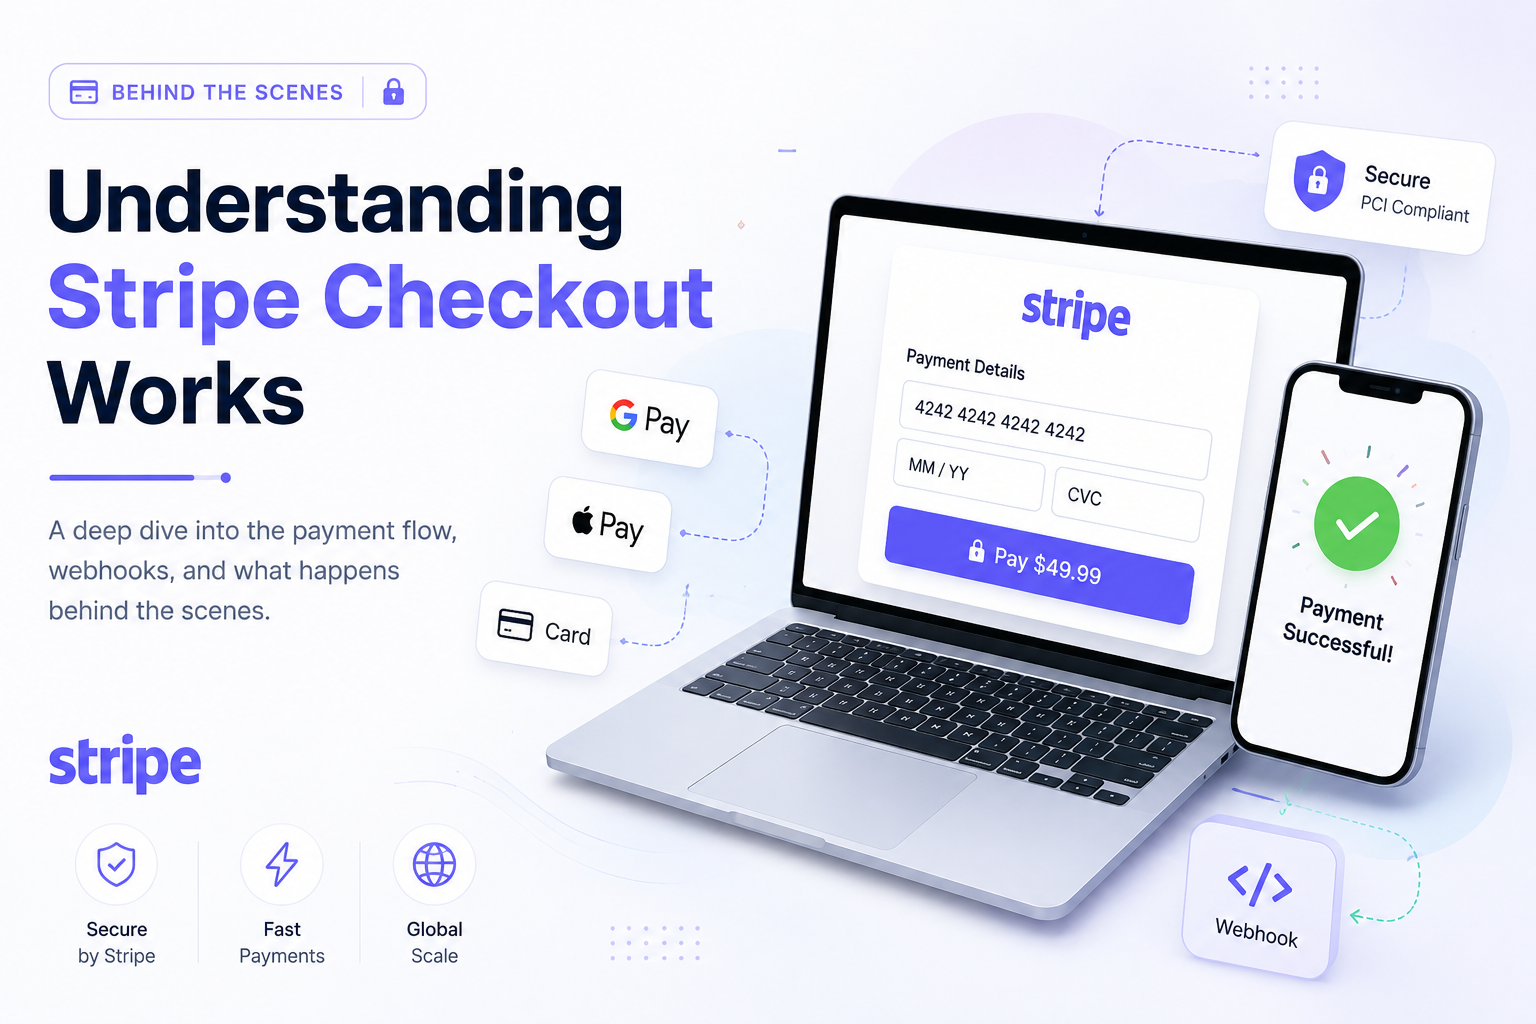
Understanding How Stripe Checkout Works Behind the Scenes
If you've ever integrated Stripe Checkout, you've probably thought the payment flow looked something like this:
Initial Mental Model: Create a Checkout Session → Redirect the user → Payment Successful
At first glance, that's exactly how it seems. But once I started implementing it, I realized Stripe does much more behind the scenes to make payments secure, reliable, and easy to integrate.
In this blog, I'll explain how Stripe Checkout works, why webhooks are essential, and the complete payment flow in simple terms.
What is Stripe Checkout?
Stripe Checkout is a hosted payment page provided by Stripe.
Instead of building your own payment form, validating card details, handling PCI compliance, or implementing digital wallets, Stripe takes care of everything for you.
With Stripe Checkout, your application only needs to create a Checkout Session, and Stripe handles the rest.
Step 1: Create a Checkout Session
The payment process always starts from your backend.
Your frontend should never communicate directly with Stripe to create payments.
Instead, the flow looks like this:
Your backend creates a Checkout Session using Stripe's SDK:
const session = await stripe.checkout.sessions.create({
  mode: "payment",
  line_items: [
    {
      price_data: {
        currency: "usd",
        product_data: { name: "Software Subscription" },
        unit_amount: 2000, // $20.00
      },
      quantity: 1,
    },
  ],
  success_url: "https://example.com/success",
  cancel_url: "https://example.com/cancel",
});
Stripe returns an object containing essential session metadata:
Session ID : cs_test_123456
Checkout URL : https://checkout.stripe.com/c/pay/cs_test_123456...
Your backend simply sends the Checkout URL back to the frontend.
Step 2: Redirect the Customer
Once the frontend receives the Checkout URL, it redirects the customer to Stripe's hosted payment page.
This is where Stripe shines. You don't have to build:
- Card forms and UI validation logic
- Complex client-side payment error handling
- Strict PCI DSS compliance infrastructure
- 3D Secure (3DS) authentication prompts
- Google Pay digital wallet integration
- Apple Pay digital wallet integration
Everything is already handled seamlessly by Stripe.
Step 3: Customer Completes the Payment
The customer can pay using any supported payment method such as:
- Credit Card
- Debit Card
- Google Pay
- Apple Pay
- Other regional payment methods (iDEAL, Klarna, Bancontact, etc.)
After the payment, Stripe does two things simultaneously:
- Redirects the customer: The browser is redirected to either the
Success URLorCancel URL. - Sends a Webhook: At the exact same time, Stripe sends a secure HTTP POST request directly to your backend endpoint.
This dual action is one of the most critical aspects of a production-ready Stripe integration.
Why the Success URL Isn't Enough
Many developers make this mistake during their first Stripe integration. They assume:
"If the user reaches the success page, the payment must have succeeded."
Unfortunately, that's not always true.
Flaws with Relying on the Success Page:
- Someone simply types
/payment/successdirectly into the browser URL bar. - The browser refreshes after loading the success page.
- The user bookmarks the success page and visits it later.
- The redirect fails because of a abrupt network disconnection or browser closure.
None of these scenarios confirm that money was actually paid. The Success URL is simply part of the user's browsing experience. It is not proof of payment.
The Role of Webhooks
A webhook is Stripe's way of notifying your application whenever something important happens. Instead of waiting for your application to ask, Stripe sends the information automatically.
When your backend receives the webhook, it verifies Stripe's signature (using the webhook secret) to make sure the request genuinely originated from Stripe.
One of the most commonly used events is:
checkout.session.completedThis event tells your application that the Checkout Session has successfully completed and funds have been verified.
What Should Happen After the Webhook?
Once your backend receives and verifies the webhook signature, it is safe to execute your core business logic. Depending on your application, this might include:
- Creating an order record in your database
- Saving payment transaction details
- Updating product inventory levels
- Generating and emailing an invoice/receipt
- Sending an order confirmation email
- Clearing the customer's shopping cart
Notice that all of these core business actions happen after Stripe confirms the payment via the webhook, not simply because the customer visited the success page.
The Complete Flow
Here is how the end-to-end payment workflow operates seamlessly across the frontend, backend, Stripe Checkout, and webhook infrastructure:
Success URL vs Webhook
This is the concept that completely changed my understanding of Stripe payment integration architecture:
| Success URL | Webhook |
|---|---|
| Used for the customer's browser experience | Used by your backend server |
| User can manually visit or type URL | Sent securely server-to-server by Stripe |
| Doesn't prove payment succeeded | Confirms authoritatively what actually happened |
| Safe only for showing a confirmation page | Safe for creating orders, updating data & fulfillment |
Key Takeaway: The Success URL is for the user. The Webhook is for your application.
Final Thoughts
Stripe Checkout abstracts away many of the complexities involved in online payments. By hosting the payment page, Stripe handles sensitive card data, security requirements, wallet integrations, and payment authentication, allowing developers to focus on building their applications.
The most important lesson I learned during this integration was that redirecting the customer is only part of the process. The real confirmation comes from Stripe's webhook. Designing your application around that principle results in a payment flow that is more reliable, secure, and production-ready.
The Golden Rule of Stripe Payments
"Never trust the success page to confirm a payment. Always trust the webhook."
Thanks for reading! If you're exploring Stripe integrations or backend development, I hope this walkthrough helped clarify how Stripe Checkout works behind the scenes.